Chalkpaint Pumpkins
David North | Oct 30, 2018
An Experiment to Chalkpaint Pumpkins
WHAT YOU WILL NEED:
White latex paint
A sheet or tarp
One 5lb (or 20lb) bag of First Saturday Lime
Paintbrushes and/or paint buckets
Stir-stick and paint key

First, we gathered some scrappy pumpkins left at the bottom of the barrel (ie. no stems, rough textures.) in order to give them new life.

Then we gathered some willing helpers who called dibs and named the pumpkins.

We spread the tarp down and weighted it with pumpkins so it wouldn't blow away. Then we repurposed a hanging plant basket by taping the bottom hole shut and clipping the hanger off. This was to be how we dunked our pumpkins.

Then we poured our paint directly into the planter and added several cups of FSL to it. We wanted a very chunky paint so we added quite a bit, but you should add small amounts while stirring until you get the desired consistency.

STIR...

WE TRIED 3 TECHNIQUES: DUNKING, DRIZZLING AND PAINTING
The first one was dunking.
 We marked how far we wanted to dunk to get the the desired look.
 DUNKING RESULTS

The second technique we tried was drizzling.


DRIZZLING RESULTS
 Less may be more in this scenario.
The third technique was painting.

 PAINTING RESULTS

It came out as more of a whitewashed look. Maybe two coats would have made it look better; However, it should be noted that this was not professionally done.
All in all, it was a lot of fun and made some great additions to the porch. The kids enjoyed experimenting and it was pretty easy for all ages.
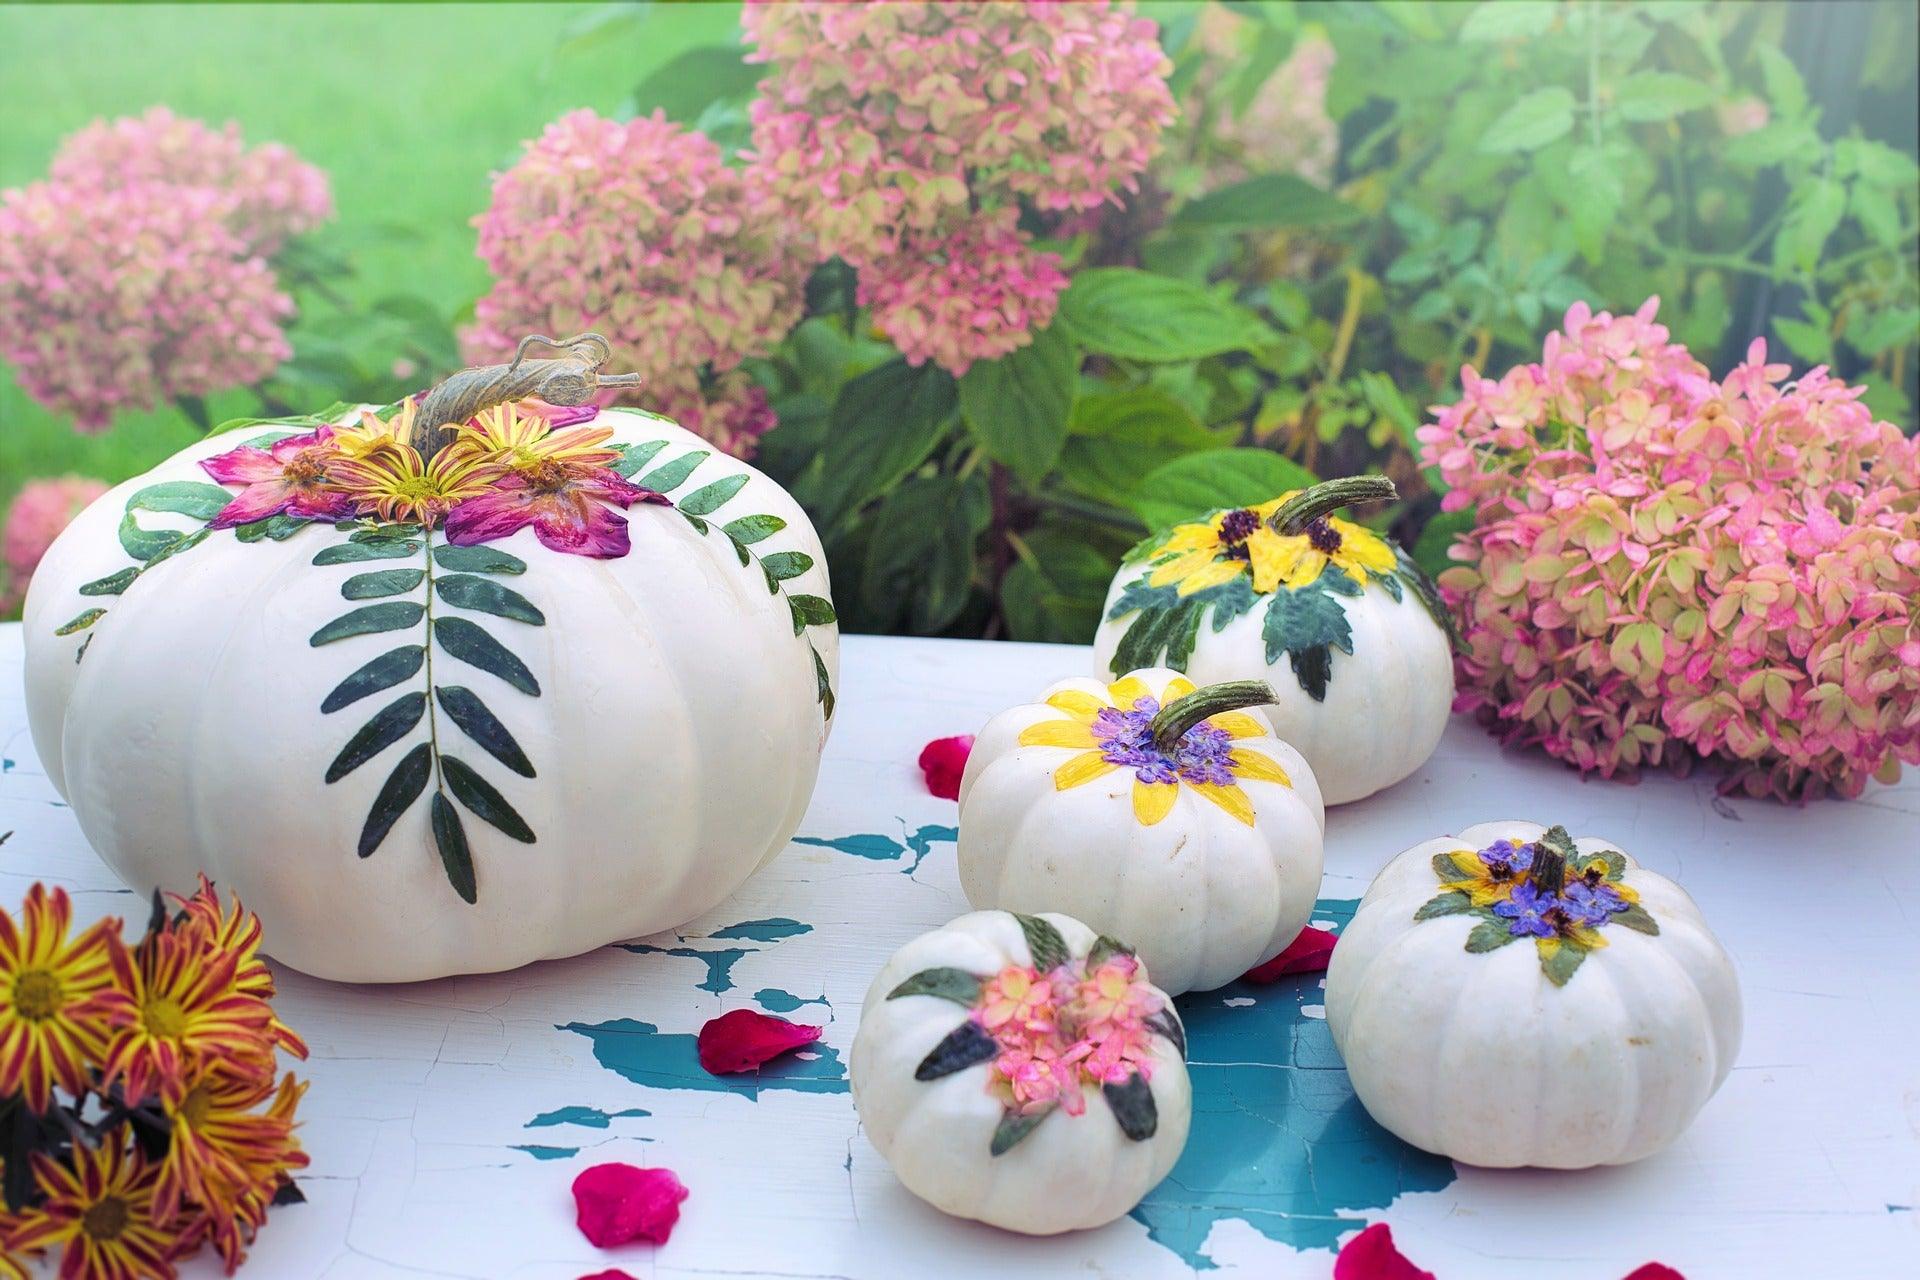
Extra ideas: Add spiders or faces for ghost pumpkins for Halloween or flowers/leaves for Thanksgiving.